Monday, December 5, 2022

Lone Star Blog Hop - Week 1


Here is the posting from the Island Batik Blog about our last blog hop of the year-

The final challenge of this year’s Island Batik Ambassador season is here! This month, the Ambassadors will be using fabrics from our newest collections to create striking quilts for the Lone Star Blog Hop. One of the oldest and most popular patterns, Lone Star offers endless design and color possibilities and we can’t wait to see what they make!

The first two finished quilts will be revealed today, so if you want to try your hand on a unique yet traditional quilt, make sure to visit the Ambassador’s blogs for any tips and tricks to make your quilting process as smooth as possible along with gorgeous detail shots, and… bonus giveaways! 

Our Ambassadors will be making their quilts with batiks from the latest Island Batik collections that will start shipping to your favorite fabric shops in January. They will also be using products from our sponsors – AccuQuilt, Aurifil, Hobbs Batting, Schmetz NeedlesDeb Tucker’s Studio 180 Design and Prairie Spirit Alpacas.

Every Friday we will be posting round-ups of the projects featured during that week and giveaway bundles of the new Island Batik collections, highlighted during the hop. Be sure to visit all the Ambassadors’ blogs to discover their inspiring creations, read the stories behind each project and participate in their bonus giveaways!

The first week of Ambassadors’ names, collections they will be using in their projects, and their post dates are as follows:

WEEK 1

December 5

Maryellen McAuliffe, Mary Mack Made Mine

Gail Sheppard, Quilting Gail

December 6

Megan Best, Bestquilter

Brenda Alburl, Songbird Designs

December 7

Preeti Harris, Sew Preeti Quilts

Emily Leachman, The Darling Dogwood

December 8

Jennifer Thomas, Curlicue Creations

December 9

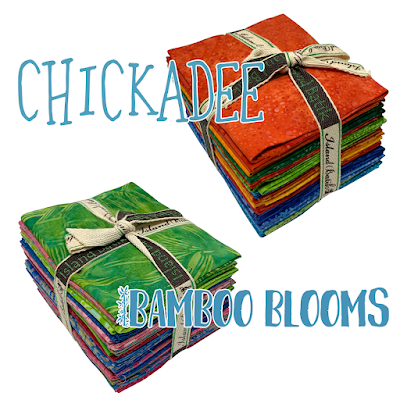
Blog Hop Round-Up Week 1 and Giveaway.  This week the drawing from Island Batik is for a bundle of Chickadee or Bamboo Blooms!  Go to the Island Batik Blog to enter for the drawing.


Thursday, December 1, 2022

Dec. Doll House Block - Living Room

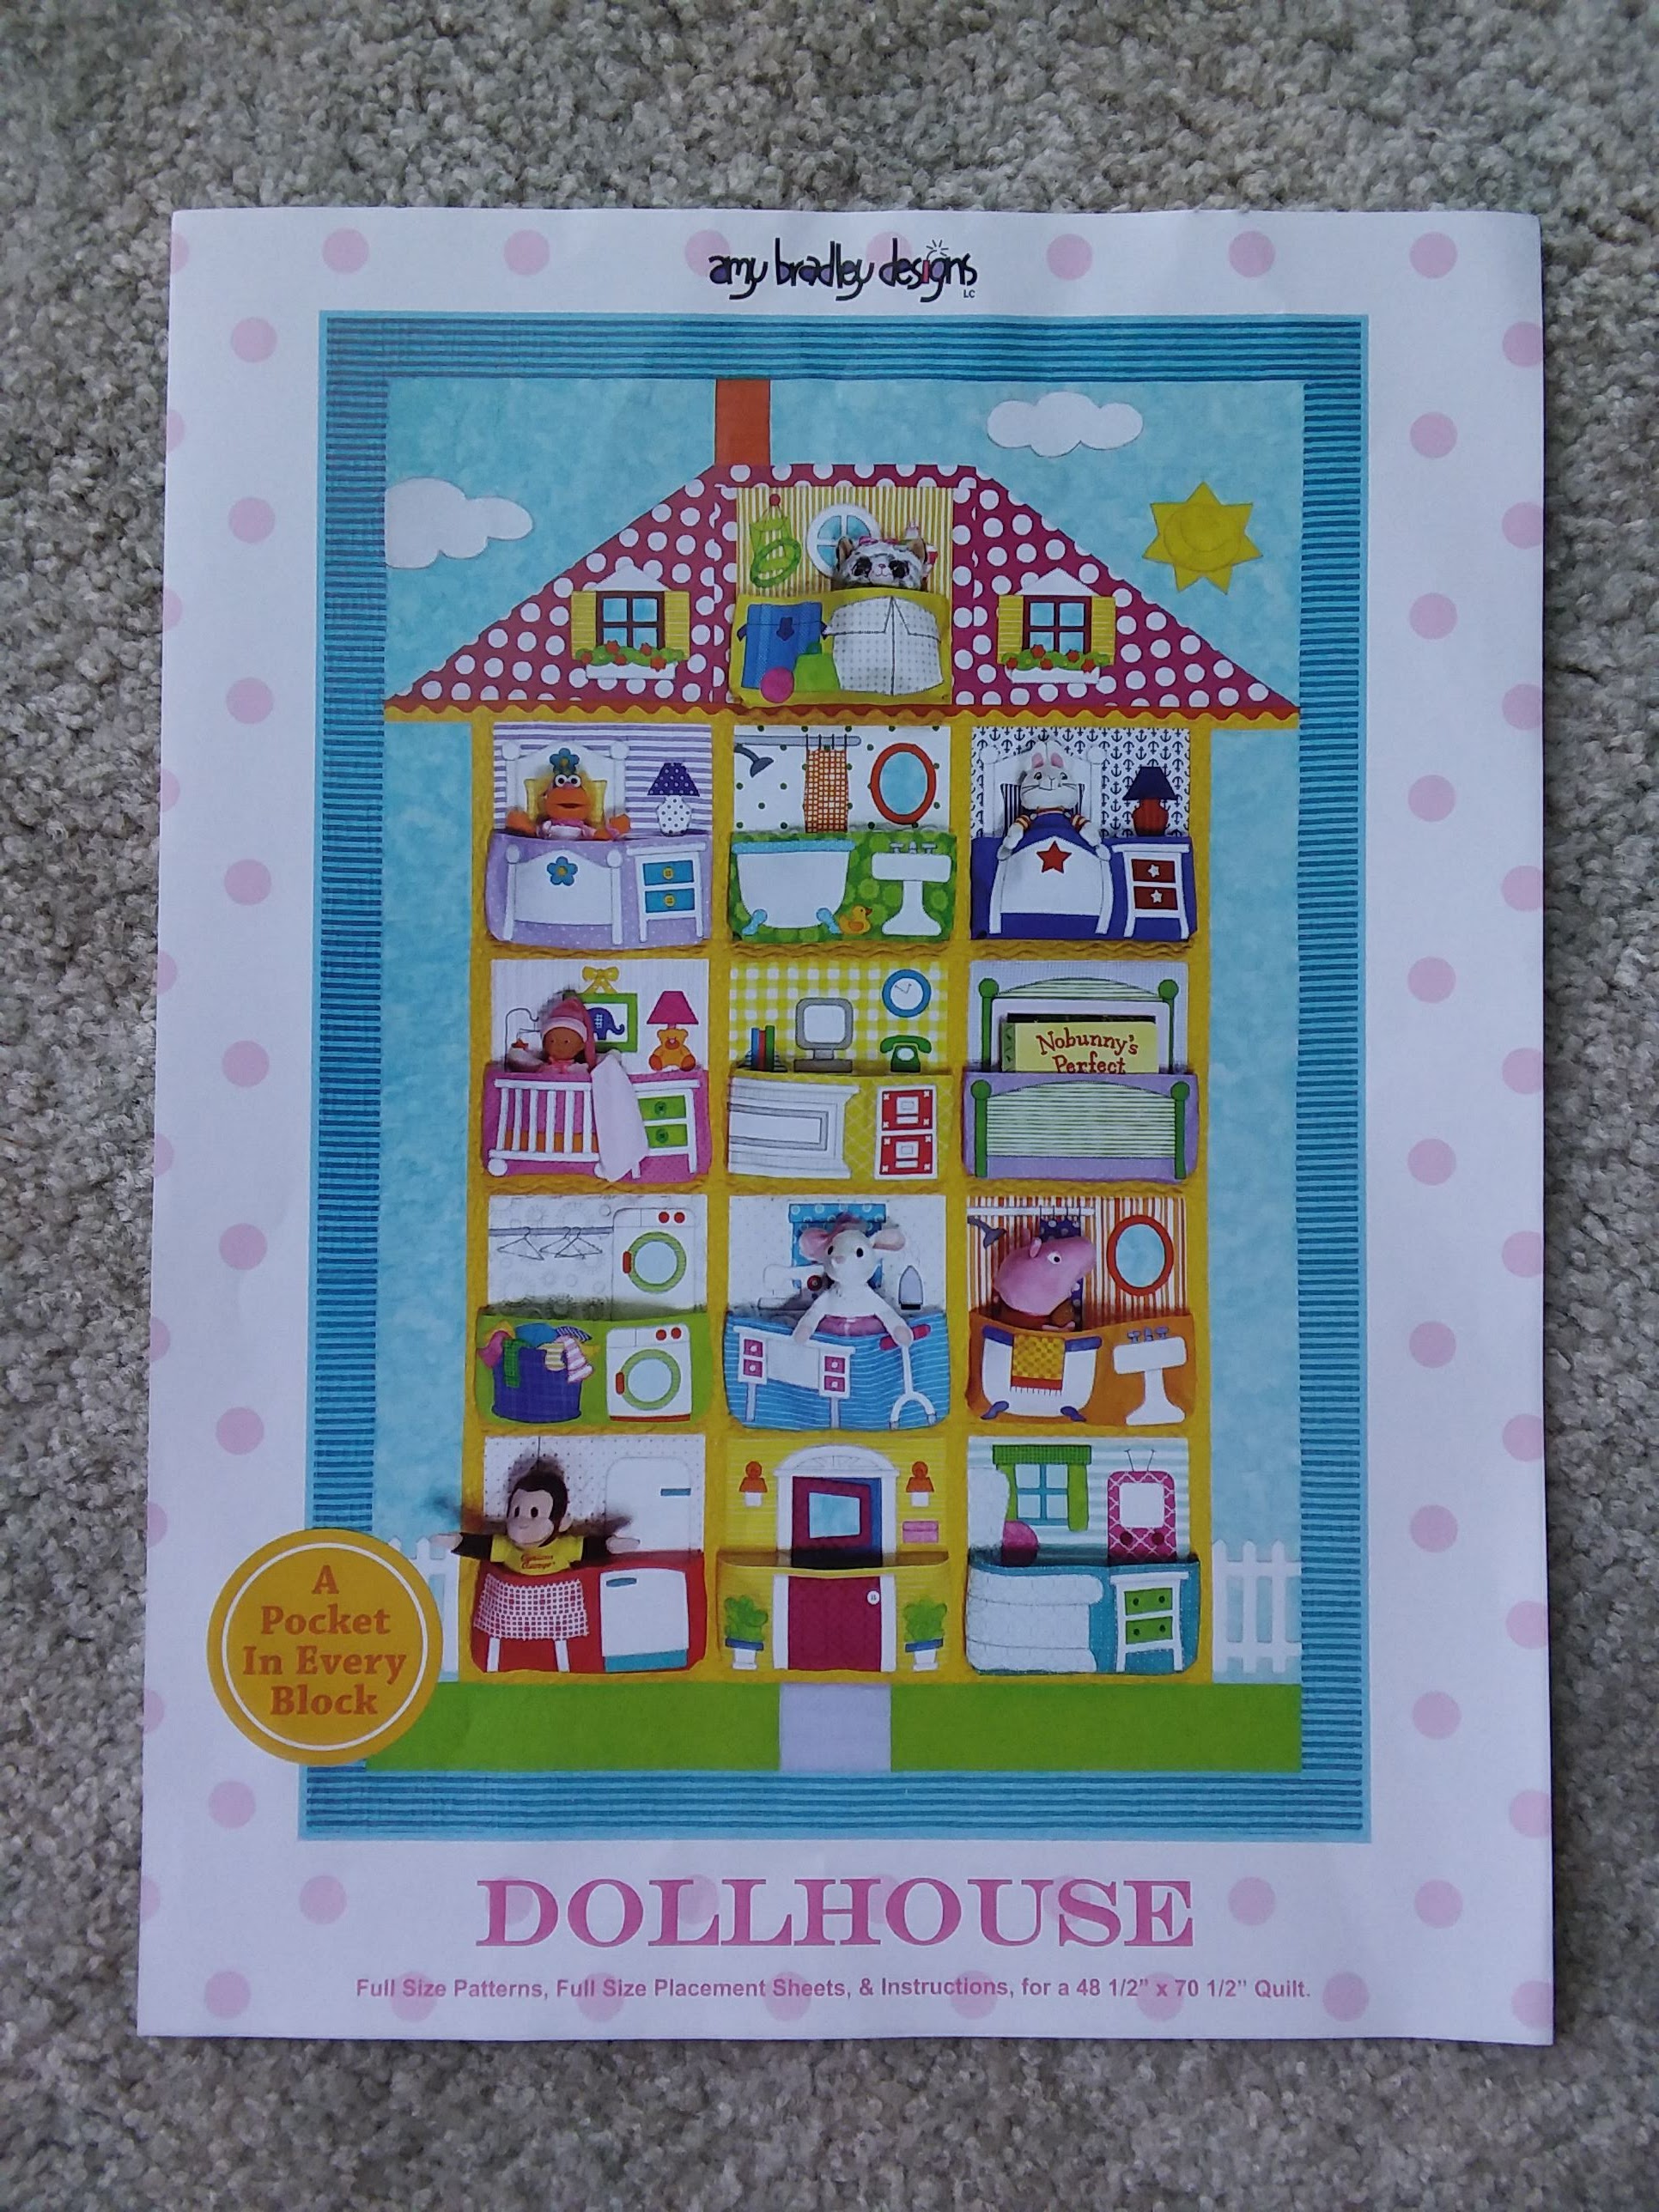
 It's December and time for a new Doll House block from Amy Bradley's Doll House pattern. This month it is the Living Room.


You can purchase the pattern at anytime if you want to join in and make a block a month with us.
Amy Bradley Designs has this and many other very cute patterns.

Here are my front and back sections for the Living Room.


If you've looked at the pattern photo, you can see that Amy has made all the background fabrics light and the pocket patterns a darker color.

This is one of three rooms that have windows in them.  I used the same fabric for the windows as the sky background so that it looks like you are looking outdoors.

Remember to mark any lines that you need to topstitch.  On this block there are only two lines on the pocket part of the sofa.  Remember to do your buttonhole stitching to both sections before sewing the pocket to the background.

Sewing the pocket on the background section is easy.


You can sew the buttons on the pocket, but save any for the background until after the quilt is quilted.

        Buttons:  Many rooms have buttons.  I lay out the rooms and pick out buttons.  If the buttons go     
        on the pocket section you can go ahead and sew them  on.  If they go on the back section, I put the 
        buttons in the plastic bags I have for each month so that I have them when the quilt is finished.  
        That way I don't  have to go hunt up buttons again and I know what room they go to.

I sewed the living room to the front door and kitchen since that was where I wanted to put them.  Row one done!


It's starting to look like a house!

Feel free to show photos of your house blocks in the comment area below.  If you don't see the comment area you may need to click on "read in browser" and scroll down to the end of the post where it says Comment.

Here is  my sister Jody's Kitchen block.  It's so fun to see the room in different fabrics!


Next month we'll be working on the Sewing Room.


Monday, November 7, 2022

Island Batik Creative Christmas Stockings

 It's November and many people start thinking of decorating for Christmas.  The Island Batik Ambassadors had the challenge this month to make a Creative Christmas Stocking, so we are getting in the holiday spirit.


I thought  long and hard about what kind of stocking to make.  I wanted to make something with a lot of different fabrics from the last shipment of fabrics.  Since most of my fabrics were not what I'd normally think of as Christmas colors it was a challenge to decide what to make.  After MANY designs, I finally decided on the stocking wrapped with colorful Christmas lights.  I ended up using 13 different fabrics, so that met my personal goal.

You can find many patterns and directions on Pinterest, so I picked a general stocking pattern and went to work.  First thing to do was to cut two outside fabrics and two lining fabrics from the Island Batik Baroque Collection and two pieces of batting.  I used Hobbs Thermore Batting as it is very thin and would work well for this project. The lining fabrics are almost to pretty to hide inside!

I added heel and toe fusible appliques to the front and back of the stocking.  With batik fabric the front and back are reversible - you just need to make sure you have them facing the correct way.
I made 9 light bulbs for the front and 9 for the back and one plug. I wasn't sure which way this stocking would hang, so I wanted both sides to be decorated.  The Prairie Spirit Alpaca pressing mat works great for pressing/fusing the appliques. 


First I had to couch some yarn for the cord, then I fused the bulbs.  I like to use things I have on hand and I found some dark brown macramé cord to use.  It was a surprise when it started to melt from the heat of the iron!  I had to be very careful when pressing the bulbs!  Lesson learned!

Buttonhole stitching around the bulbs took 12 different Aurifil threads!  Lucky for me I have a nice collection of Aurifil from the Ambassador program!  Schmetz Super Nonstick Needles work great with sewing appliques.  They are the needles I always use for fusible applique.


After trimming the pieces, the next step was to sew the front and back to the lining pieces (making sure the toes are turning the correct way).  Press the seam open, then lay the rights sides together and sew around leaving an opening to turn along the lining edge.  Turn inside out, press and sew the opening closed.  Then tuck the lining inside.


Here is the stocking both front and back.


It's all ready to hang for Christmas at our fireplace.  Does this get you in the mood for some Christmas sewing?


Many thanks to Island Batik, Hobbs Batting, Schmetz Needles, Aurifil Thread and Prairie Spirit Alpacas for supplying products for this project thru the Island Batik Ambassador program.

You can check out the other Island Batik Ambassadors stockings at the websites below:

Brenda Alburl ~ Songbird Designs Megan Best ~ Bestquilter Pamela Boatright ~ Pamelaquilts Elizabeth DeCroos ~ Epida Studio Jennifer Fulton ~ Inquiring Quilter

Preeti Harris ~ Sew Preeti Quilts Mania Hatziioannidi ~ Mania for quilts Jane Hauprich ~ Stitch By Stitch Custom Quilting Reed Johnson ~ Blue Bear Quilts Connie Kauffman ~ Kauffman Designs . Emily Leachman ~ The Darling Dogwood Denise Looney ~ For The Love Of Geese Leah Malasky ~ Quilted Delights Maryellen McAuliffe ~ Mary Mack Made Mine Anorina Morris – sameliasmum.com Lisa Pickering ~ Lisa’s Quilting Passion Claudia Porter ~ Create with Claudia Gail Renna ~ Quilt Haven Threads Brianna Roberts ~ Sew Cute And Quirky Michelle Roberts ~ Creative Blonde Gail Sheppard ~ Quilting Gail Andi Stanfield ~ True Blue Quilts Sandra Starley ~ Textile Time Travels Jennifer Thomas ~ Curlicue Creations Suzy Webster ~ Websterquilt


Tuesday, November 1, 2022

November Doll House Block

 It's time for the November Doll House block from Amy Bradley Designs Doll House pattern.  This month it is the Kitchen.

Each block gets easier to make.  This one only has one line you need to draw on the background (the light cord) to mark and sew separately.

Here is how I audition fabrics and pin pieces to my foam core board  that I covered with batting.  I can stick the pieces to the board with pins to see how they look.  If I don't like any of the colors, I can make a new piece.  I wasn't sure about the bright pink planter color, but decided to stick with it.

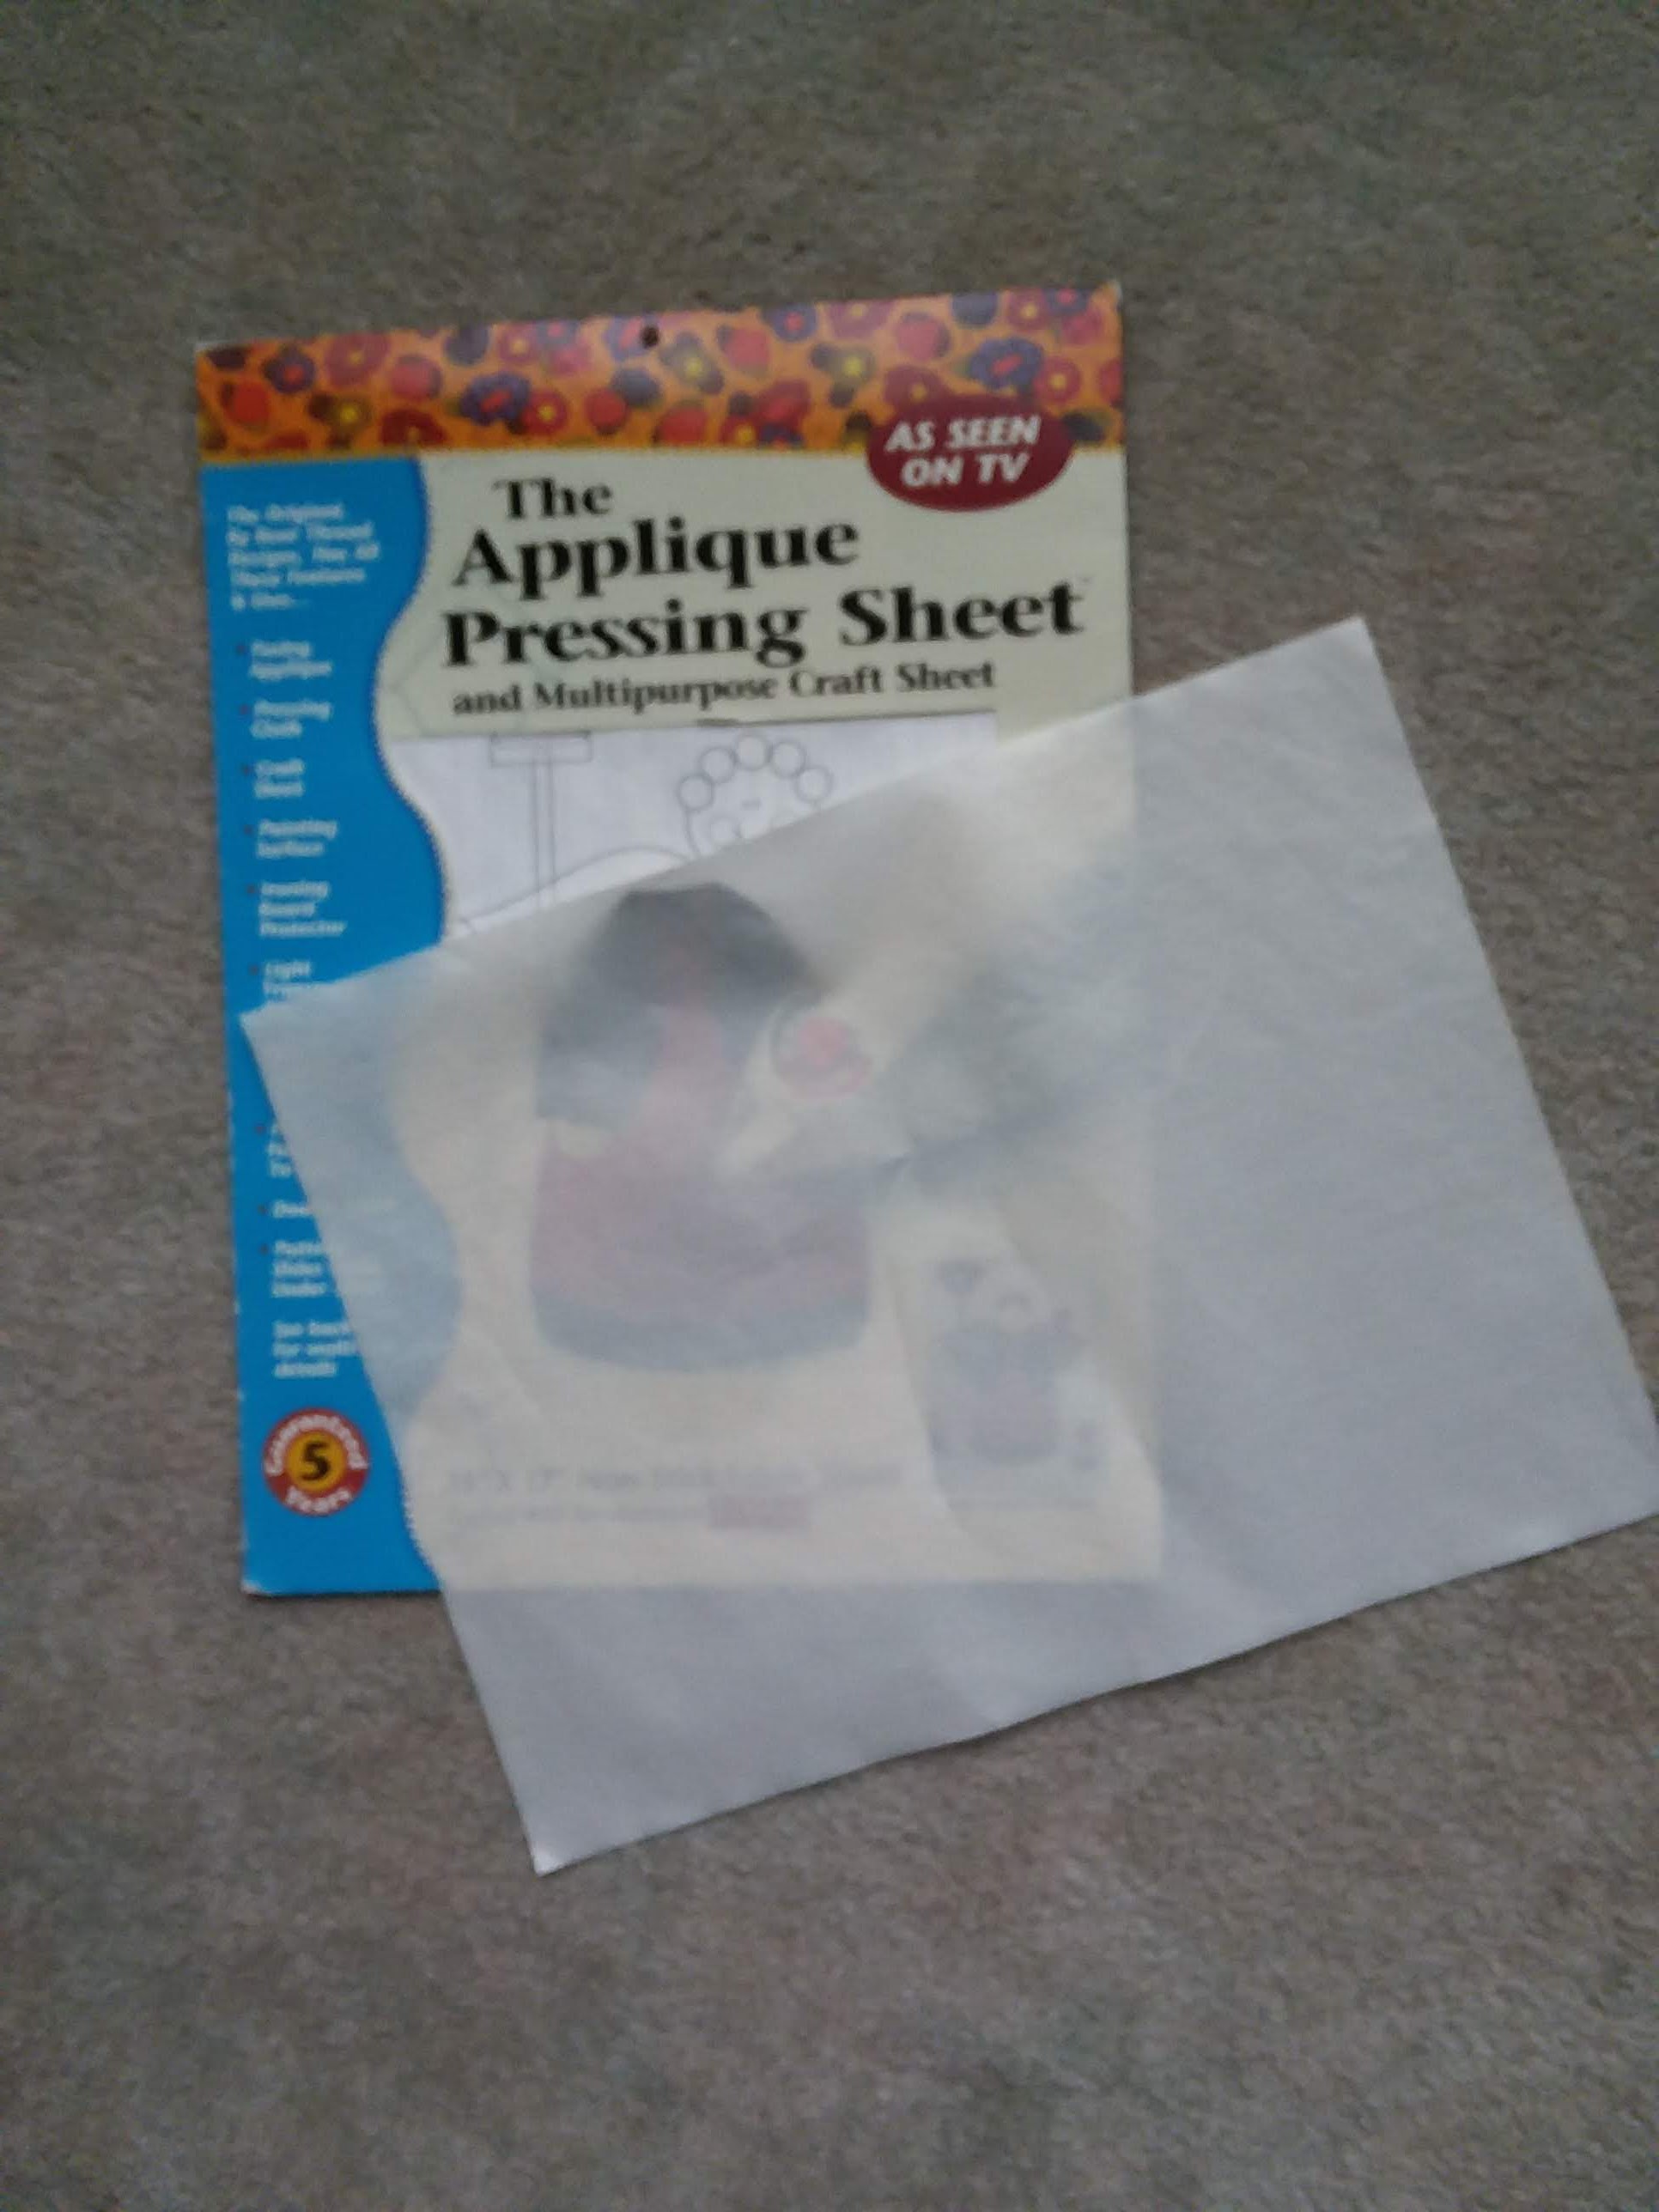
I found it helpful to layer some of my applique pieces on top of an applique pressing sheet with the pattern behind it.  

You can layer the pieces and press them.


After the pieces cool, you can remove the whole piece from the sheet.  Then you can put the whole piece on the fabric background over the diagram sheet and press.  This way there are less pieces to layer all at once.


Here are my front and back pieces.  I haven't done the buttonhole stitching yet.  There will be buttons on the plant, but they need to be attached after the quilt is quilted.


Here I'm sewing the pocket to the background and making the corners.


I went ahead and sewed the kitchen to the front door block since I'd decided to place them side by side like in the pattern.  You can position the rooms any way you like.


If you look closely you can see how much whiter the refrigerator is than the white door frames.  I backed the white fabrics like it suggests in the pattern and it does keep the background colors from showing thru as much and they look whiter.

Remember you can purchase a pattern (paper or digital) from Amy Bradley Designs at any time and join in the fun!

Feel free to post photos of your blocks in the comments as you get them done.  Here is my sister Jody's front door pieces.  It looks great!


Next month will be the Living Room block.  .

Feel free to post photos of your rooms in the comments below- I'd love to see them!


Monday, October 17, 2022

Free By Annie Bag Pattern

Bag patterns from By Annie are great.  My last post highlighted the Clam Up Bags I made this year.  I thought I'd let you know that By Annie has some free bag patterns on her site.  I made the Easy Does It pattern and it turned out very nice.

This is an easy bag pattern and a good one to try before you advance to other  ones.  This bag finishes at 6" H x 9"W x 4 1/2" D .  The handles at the side are a great addition and easy to attach.

This bad doesn't take much fabric.  I used  a couple fabrics from the Island Batik Honeycomb collection by Kathy Engle.  Simple quilting of your choice can be added.


Give it a try!


Monday, October 10, 2022

It's In The Bag - Oct Island Batik Challenge


The October Island Batik Ambassador Challenge is called It's In The Bag.  By Annie is one of the Island Batik Ambassador Sponsors and this is her month to shine.  Each Ambassador was able to select a bag pattern to make and By Annie provided the pattern and all the hardware and things needed for the pattern.  Island Batik also allowed us to select which fabrics we wanted to make the bag with.  What a great challenge!

This year I picked the Clam Up pattern and three fabrics from the Island Batik Baroque collection.

The Clam Up pattern has directions to make zippered pouches in 5 different sizes.  They all nest inside each other.  I thought these would be great to make as gifts.

Of all the By Annie patterns I've made over the years, this one is the easiest.  You don't even have to quilt the fabric for the pouches which is a time saver.   Along with the pattern By Annie sent a package of zippers by the yard and a package of Soft and Stable to make the pouches.

One reason I decided on Baroque for the fabrics was because I had some other fabrics from the collection left over from another quilt and then I could make each bag a different color.

The pattern comes with little labels that you put on the pieces as you cut them to keep everything in good order. (my photos show more than 5 sets as I was trying to make as many as I could)


The bag pattern itself was just one piece.


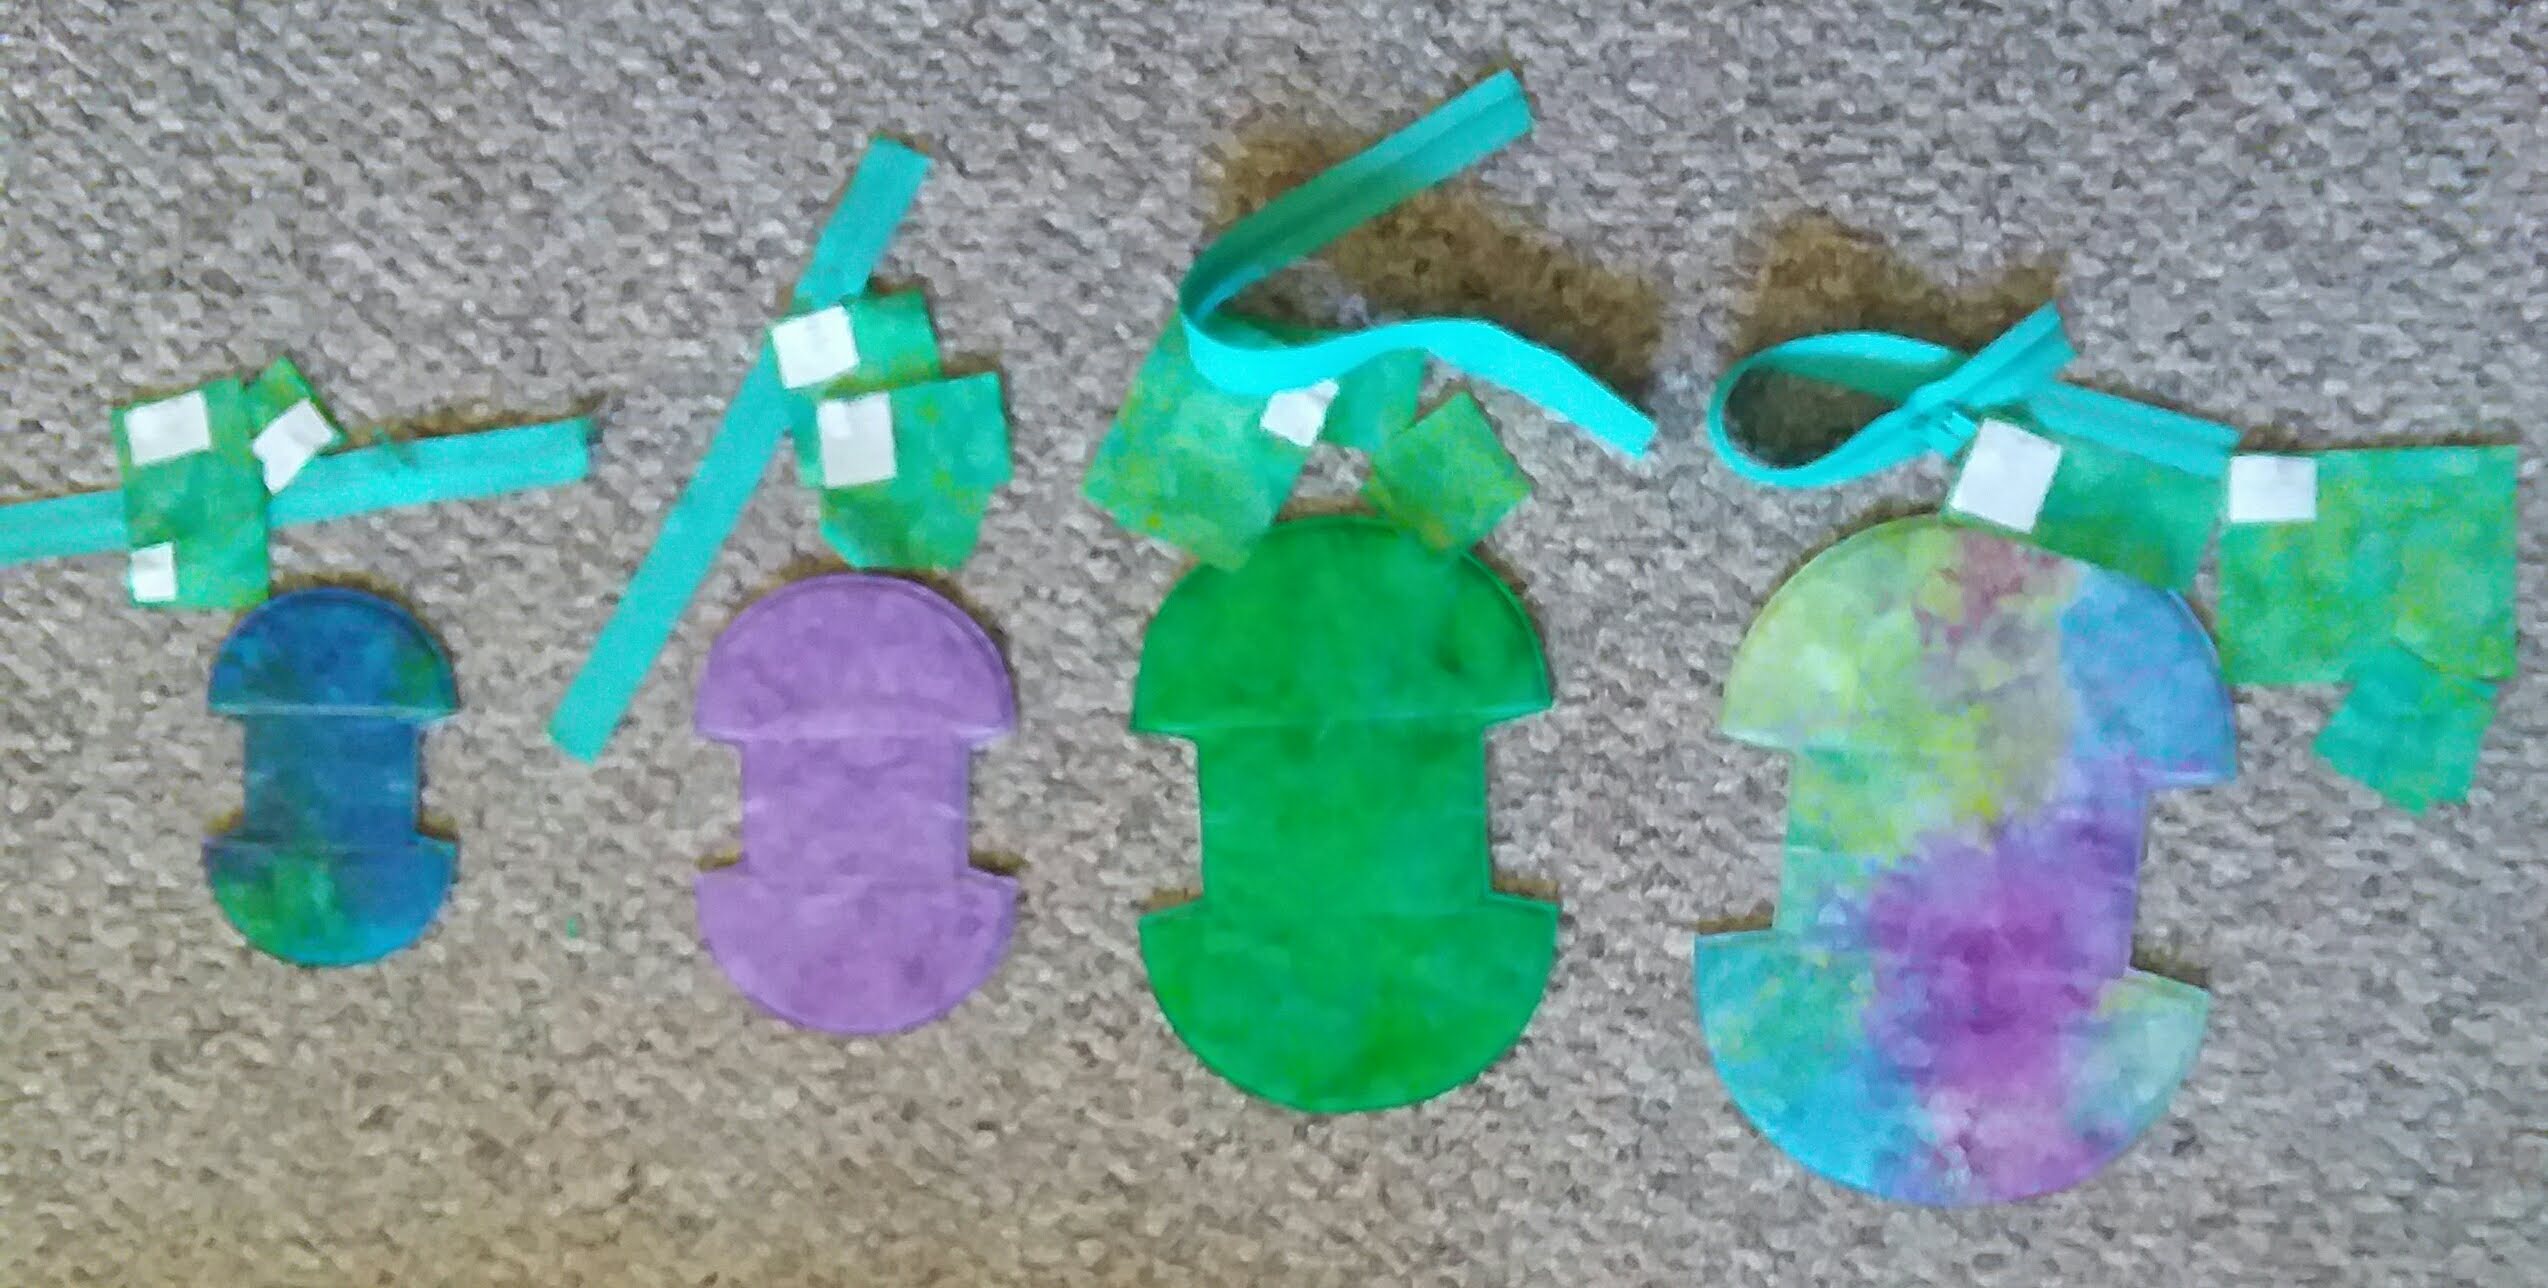
Here are bag patterns for 4 (I don't know where the 5th one got to!) along with the cut zippers and inner gusset pieces.  Two lines are sewn in the middle where the sides will turn up.  That's all the quilting that was done.


Zippers were easy to sew on using Annie's zippers which are a bit wider.  The Zippers by the Yard also has enough pulls that you can have double pulls on each pouch.


The next thing to sew was the inner gussets.  It was hard to get a close photo, but these make little sides to the inside of the pouch so things can't fall out of the pouch.  They were easy to attach.

Here are the five bags from the pattern.


It is so neat that these all nest inside each other.


Here you can see the coordinating fabrics on the insides and also the gussets on the sides.
So colorful!  These would be pretty in just about any fabrics.


I was able to make 8 bags with the package of Zippers by the Yard which you can purchase at ByAnnie in 32 different colors!


Many thanks to Island Batik, By Annie for supplying products to use for this post thru the Island Batik Ambassador program.

Check out what bags the other Ambassadors have been making:

Brenda Alburl ~ Songbird Designs Megan Best ~ Bestquilter Pamela Boatright ~ Pamelaquilts Elizabeth DeCroos ~ Epida Studio Jennifer Fulton ~ Inquiring Quilter

Preeti Harris ~ Sew Preeti Quilts Mania Hatziioannidi ~ Mania for quilts Jane Hauprich ~ Stitch By Stitch Custom Quilting Reed Johnson ~ Blue Bear Quilts Connie Kauffman ~ Kauffman Designs . Emily Leachman ~ The Darling Dogwood Denise Looney ~ For The Love Of Geese Leah Malasky ~ Quilted Delights Maryellen McAuliffe ~ Mary Mack Made Mine Anorina Morris – sameliasmum.com Lisa Pickering ~ Lisa’s Quilting Passion Claudia Porter ~ Create with Claudia Gail Renna ~ Quilt Haven Threads Brianna Roberts ~ Sew Cute And Quirky Michelle Roberts ~ Creative Blonde Gail Sheppard ~ Quilting Gail Andi Stanfield ~ True Blue Quilts Sandra Starley ~ Textile Time Travels Jennifer Thomas ~ Curlicue Creations Suzy Webster ~ Websterquilt