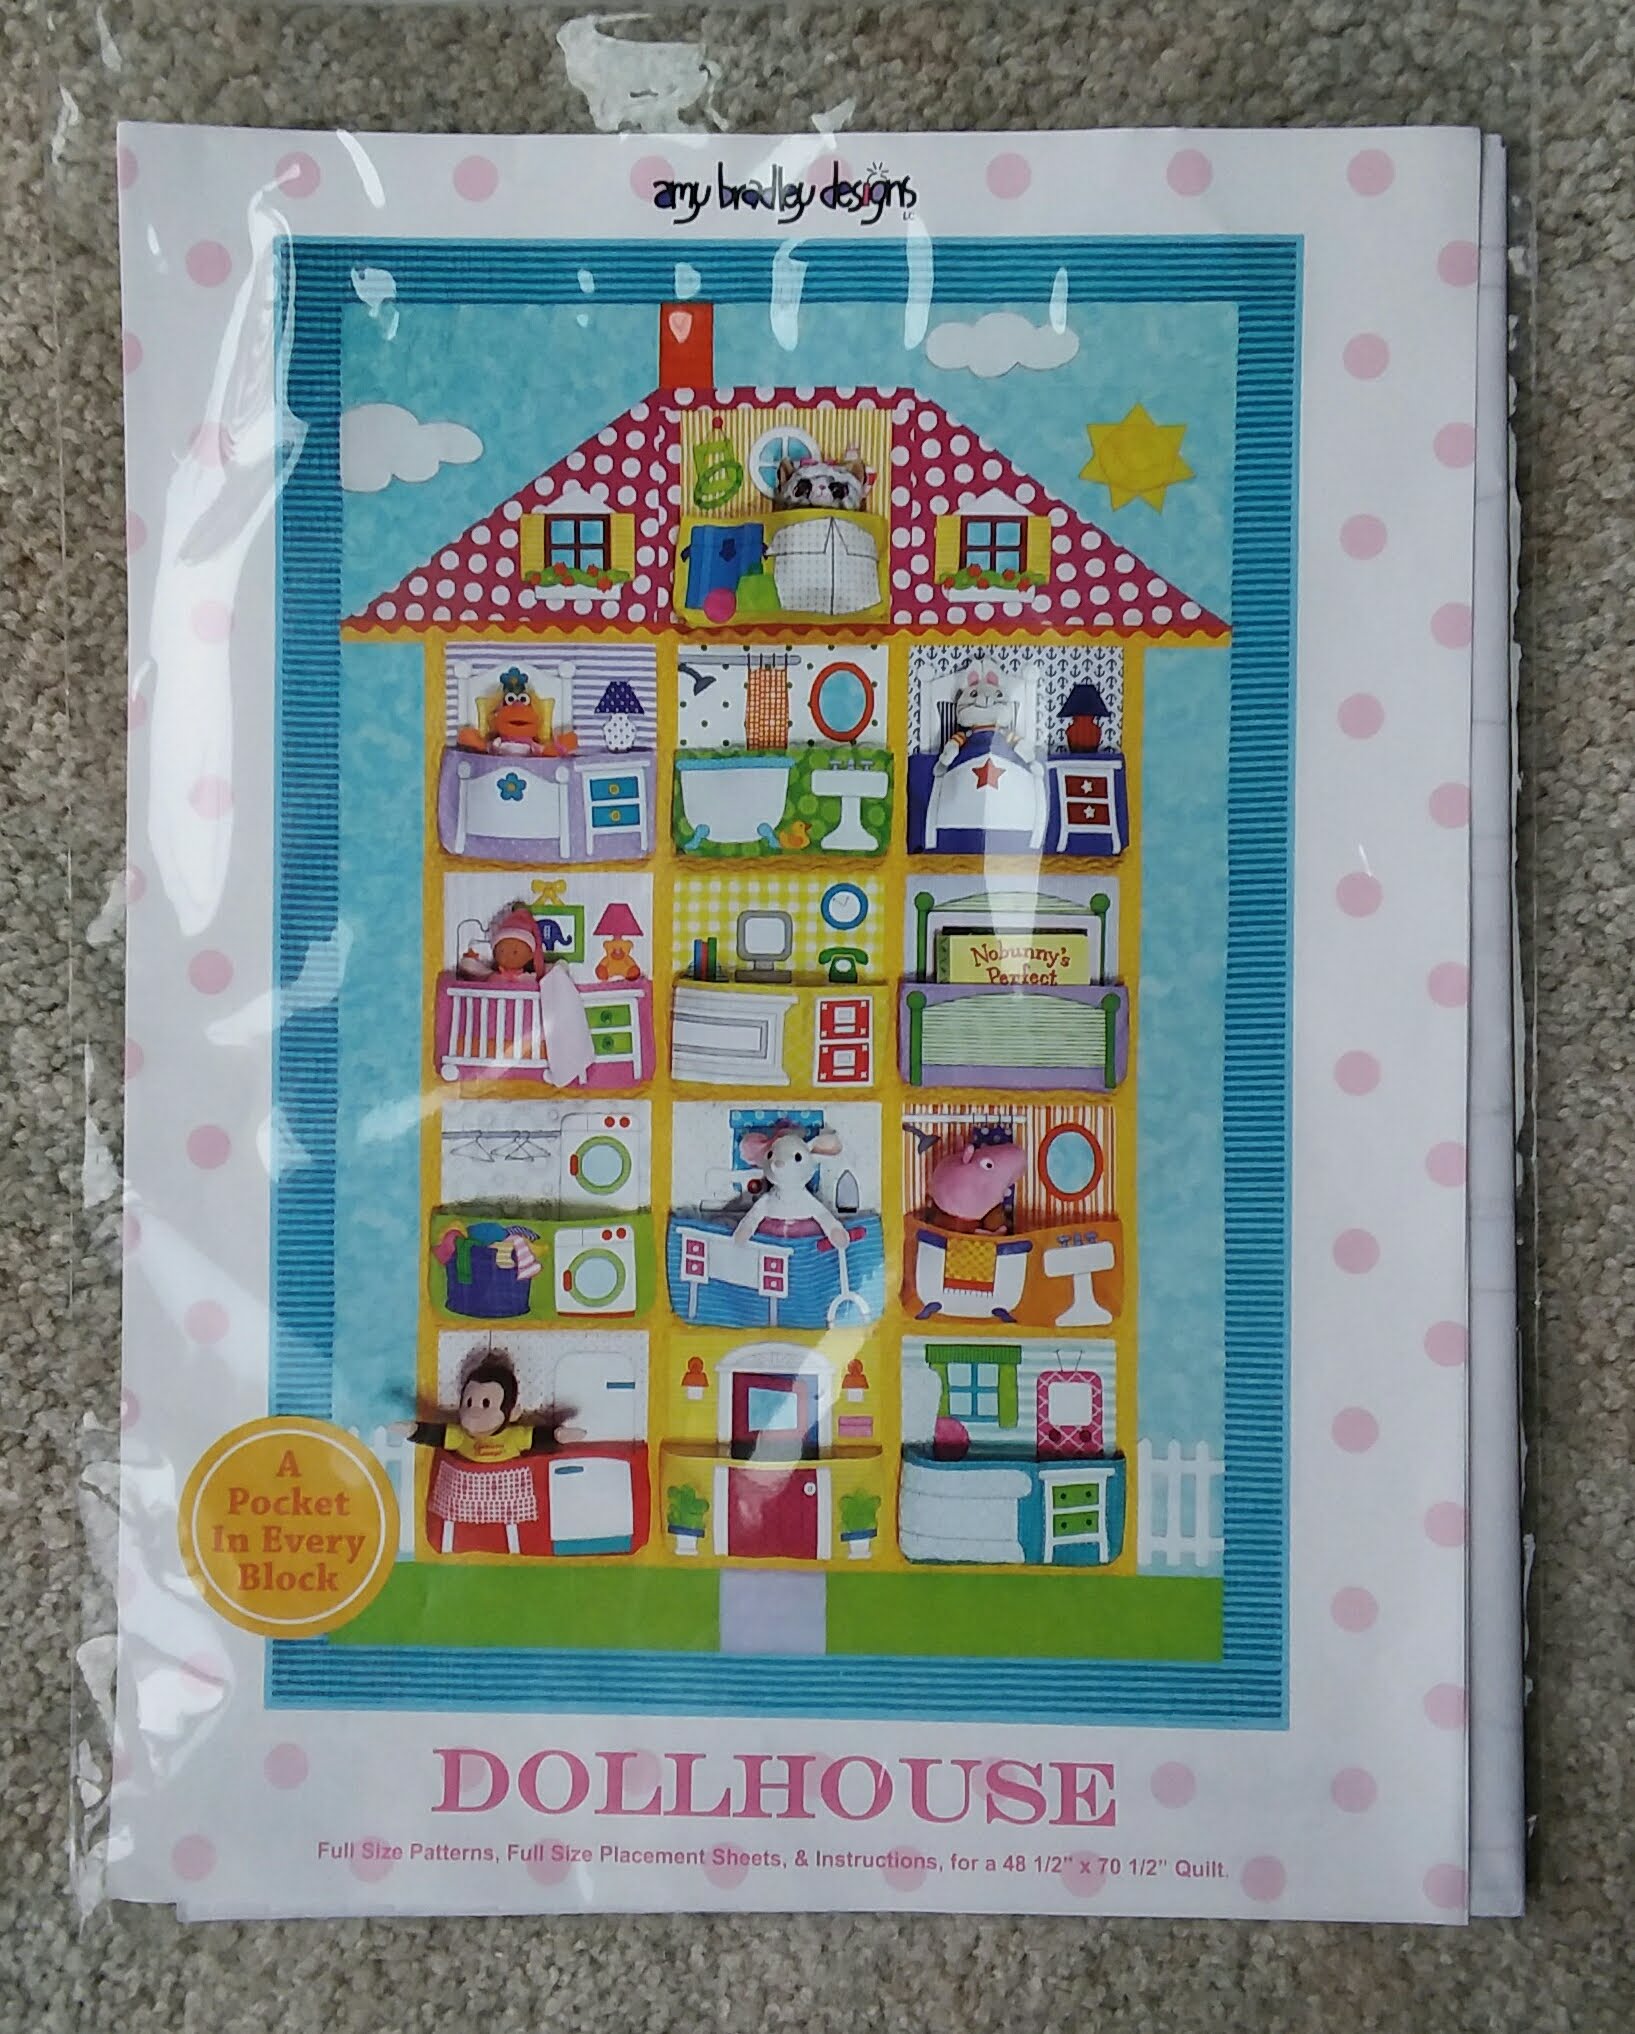
It's October - time for our first Doll House block in Amy Bradley's Doll House quilt. This month it is the Front Door. A perfect start of the series. Come in the front door this month and the following months we'll work on individual rooms.
Begin by tracing over the pattern pieces for the Front Door on WonderUnder and fuse them to the fabrics you have selected.
*Hint - if you are selecting fabrics similar to the pattern it is helpful if you have already decided what yellow you will be using for the sashings. Then when you look for a yellow for the front door backings you can lay both yellows side by side to see if they look good together.
*Some pattern pieces have lines on them that you need to mark on the fabric for later top stitching. In this block it is the light fixtures, mail box, door and plants. After you have the fabrics fused, you can lay them on top of the pattern sheet and mark the lines on the fabric.
Lay your top and pocket patterns over the placement sheet and layer them in numerical order on top of the backing fabrics (take the paper backing off first). Notice that the fabric backings are a bit larger so that they can be squared up later. Then fuse.
*Hint - It's helpful to have some sort of light box under the pattern placement sheet. I have a small acrylic sewing table around my sewing machine. I'm able to put a small light under the side of the machine that works very well.


Here are my background and pocket pieces all fused.


I added the two side sashes. First block done!


I hadn't marked the lines on top of the pieces of the bushes and the lights yet- you can still do it after everything is fused down.
If you read your instructions you will see that Amy suggests having a double layer of fabrics on your white pieces. She has allowed extra fabric to to this.
This is why- see how you can see the red under the white fabric where it overlaps? Having a double layer of white will eliminate this. See- you can learn from my mistakes!

*Hint - You can learn from another one of my mistakes. When pressing my blocks with steam I quickly learned that my red fabric bled! Yikes! I had the blocks all ready for doing the button hole stitching. I took my blocks and hand washed them with a color catcher and it picked up all the red with no running. Whew!
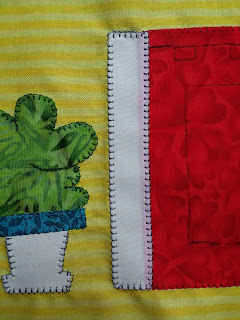
Here is a close up of the buttonhole stitching. After stitching I don't think you notice the slight red under the white fabric.
*Hint - Amy suggests putting a tear a way backing under the blocks when you do the buttonhole stitching. I usually don't need this and didn't use it. You can notice the slight puckers at the top because I didn't use it. Amy knows best!
You can also notice the top stitching on the plant is finished, but not on the door yet.

Since this is the first block, I couldn't wait to see how the pocket would be attached. The instructions are very good and it's easy to make the corner tucks.


I hope you have fun starting with this first block of the Doll House quilt. Next month we will be working on the Kitchen block.
I would love it if you would post photos of your blocks in the comments as we go along. See you next month!
No comments:
Post a Comment